Camp Cooking
How to Cook Over a Campfire
Learn how to cook over a campfire safely and successfully. From building the right fire to using cast iron and foil packets, here's what beginners need to know.
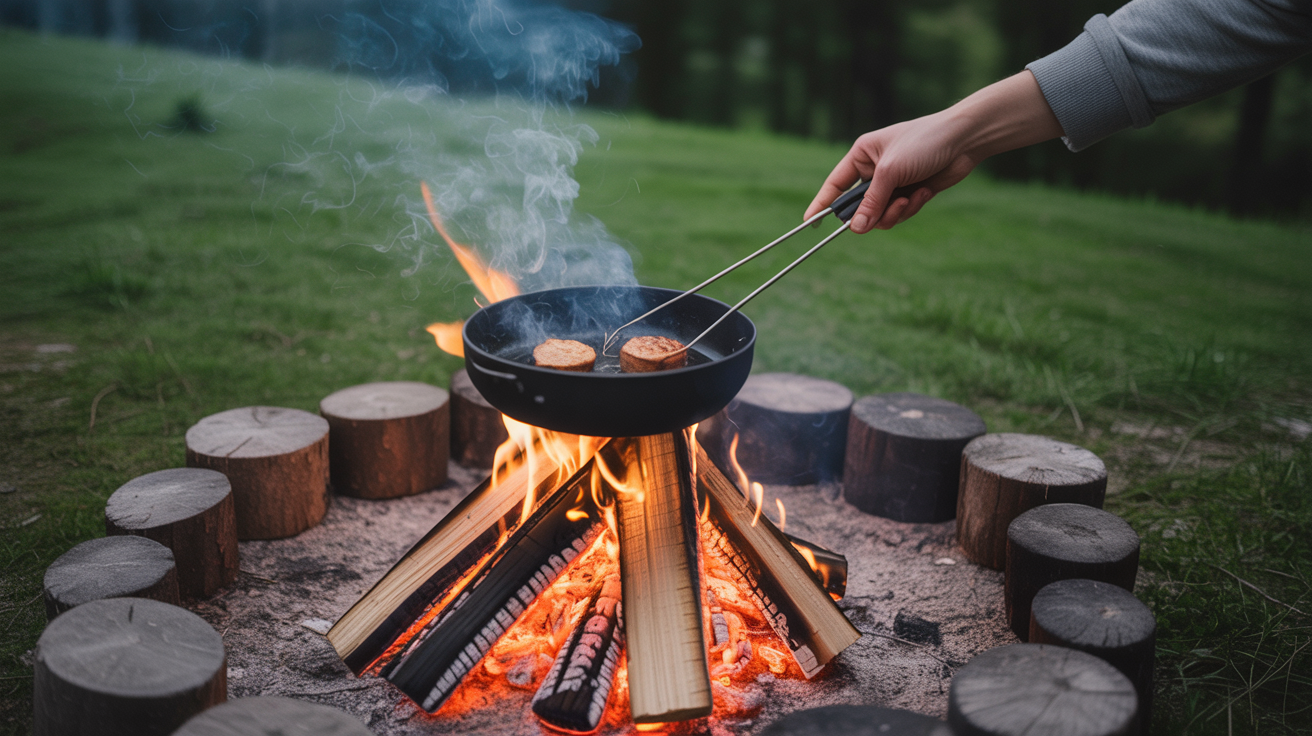
Campfire cooking is one of those skills that looks intimidating until you actually try it. The biggest mistake beginners make is cooking over open flames, flickering orange fire that scorches the outside of food while leaving the inside raw. Real campfire cooking happens over a bed of glowing coals, which give you steady, controllable heat. Get that principle down and most of the rest follows naturally.
Build a Fire That's Ready to Cook On
You need about 45 to 60 minutes of burn time before your fire is ready for cooking. Start with a solid bed of fuel, hardwoods like oak, hickory, or maple produce dense coals that hold heat well. Softwoods burn faster and leave flimsy ash.
Build your fire and let it rip. Once the active flames die down and you're left with a pile of orange-glowing coals with a light gray ash coating, you're in business. A good cooking fire should feel intensely hot when you hold your hand six inches above it for just two or three seconds.
The Two-Zone Setup
Before you start cooking, rake your coals into two zones: a thick pile on one side for high heat, and a thin layer on the other for low, gentle cooking. This gives you somewhere to move food when it's cooking too fast, the same logic as a two-burner stove. Without a two-zone setup, you have no way to recover from a piece of chicken that's browning too quickly on the outside.
When a Camp Stove Makes More Sense
Be honest about conditions. If it's raining hard, the wood is wet, or you're at a site that prohibits open fires, a camp stove is the right tool. There's no romance in burning dinner because you were committed to the campfire experience. A stove also lets you dial in precise heat, which matters for things like scrambled eggs or simmering soup. Campfire cooking for beginners covers stove vs. fire decisions in more detail.
Cooking Methods Compared
Different methods suit different foods. Here's a quick reference:
| Method | Best For | Gear Needed |
|---|---|---|
| Campfire grate | Burgers, sausages, vegetables, pan cooking | Folding grate or tripod grate |
| Cast iron skillet | Eggs, bacon, pancakes, sautéed vegetables | Cast iron skillet, heat-resistant gloves |
| Cast iron Dutch oven | Stews, chili, baked biscuits, one-pot meals | Dutch oven with legs, lid lifter |
| Foil packets | Fish, potatoes, corn, mixed vegetables | Heavy-duty aluminum foil |
| Skewers | Sausages, marshmallows, cut vegetables | Metal skewers (or green wood sticks) |
Cooking on a Grate
A simple folding grate set over a ring of stones or positioned on the fire ring gives you a flat surface to work with. You can set a skillet or pot directly on it, or grill food right on the bars. Grease the grate before placing food, brush it with a little oil on a paper towel held with tongs. Position the grate so it sits three to four inches above the coals for moderate heat. Closer means hotter; raise it to slow things down.
Cast Iron: The Most Forgiving Tool You Own
Cast iron heats slowly and holds heat evenly, which makes it ideal for campfire cooking where the heat source is uneven. A 10-inch skillet handles breakfast for two, and a Dutch oven can feed four people with a stew or a batch of biscuits. Preheat cast iron for two to three minutes before adding oil or food. Cold cast iron will stick.
For Dutch oven cooking, you can add heat from the top by placing hot coals on the lid. This turns it into a rough oven, useful for baking and for keeping things from scorching on the bottom. Start with fewer coals than you think you need; it's easy to add more and impossible to un-burn a stew.
Easy camping meals for beginners has specific Dutch oven recipes that work well on a first trip.
Foil Packets: Simple and Forgiving
Wrap food in two layers of heavy-duty aluminum foil, seal the edges tightly, and nestle the packet into the coals or set it on a grate. The foil traps steam and cooks food gently from all sides. This method is particularly good for fish, sliced potatoes with butter and herbs, or mixed vegetables. Most packets take 15 to 25 minutes. Rotate them halfway through so both sides get even heat.
Use heavy-duty foil or double-wrap with regular foil. Thin foil tears on the coals and you'll lose your dinner.
Skewers
Metal skewers work better than wooden ones (no soaking required, no risk of burning through mid-cook). Stick to food that cooks fast: sausages, chunks of bell pepper and onion, mushrooms, or shrimp. Hold skewers above the coals rather than in them, you want radiant heat from below, not charred food from contact.
Controlling Heat at the Campfire
Heat management is the skill that separates a good campfire cook from someone who just burns hot dogs. You can't turn a campfire down the way you turn a stove burner down, but you have real options.
More heat: Push coals together beneath the cooking area. Fan them gently to get them glowing brighter.
Less heat: Spread the coals out or scrape some away. Raise the grate higher. Move the pan to the edge of the fire, not the center.
Sustaining heat during a long cook: Add a small log to the side of the fire while you're cooking. Let it catch and burn down to coals before moving it into the main cooking zone. This is how you keep a two-hour stew going without the heat dying out.
Get a pair of long-handled tongs and heat-resistant gloves. Adjusting coals with a stick is possible but imprecise and annoying. The right gear makes heat management feel easy rather than stressful.
Cleanup at the Campsite
Campfire cooking creates two cleanup challenges: greasy cookware and food scraps.
Cast iron: Don't use soap. Wipe it out with a paper towel while it's still warm (use gloves). Stubborn bits loosen with a little water and a stiff brush. Dry it over residual heat for a minute, then rub a thin coat of oil on the cooking surface before packing it away.
Grate: Burn off residue while the fire is still hot by leaving the grate in place for a few minutes after cooking. Scrub with a brush when it cools. Pack it in a bag, it will be greasy and will leave marks on everything else in your pack.
Food scraps: Pack out everything, including fruit peels and eggshells. "Natural" food scraps attract animals and break down slowly in the backcountry. Use a small bag for food waste.
The fire itself: Let it burn down completely, drown it with water, stir the ash, and pour more water until everything is cool to the touch. A fire that feels cool on the surface can have hot spots underneath. The "if it's too hot to touch, it's too hot to leave" rule applies.
For keeping your food safe and cold before it hits the fire, see how to keep food cold while camping.
Frequently Asked Questions
How long should I let the fire burn before cooking?
Plan on 45 to 60 minutes. You want a solid bed of coals, mostly gray on the surface with an orange glow underneath, not active flames. Trying to cook over flames results in scorched, unevenly cooked food.
Can I cook directly in the coals?
Yes, for some foods. Foil-wrapped potatoes, corn in the husk, and whole onions all work well nestled directly in the coals. Unwrapped food placed in coals will burn. Always use tongs to pull things out and let them cool before unwrapping.
What's the best campfire cooking method for beginners?
Foil packets are the most forgiving starting point. You seal the food inside, cook it low and slow, and have a built-in buffer against overcooking. A cast iron skillet is the second-easiest, it holds heat evenly and tells you a lot about what's happening just by the sound of the sizzle.
Do I need special equipment to cook over a campfire?
Not much. A folding grate (about $15 to $25), a pair of long-handled tongs, heat-resistant gloves, and a cast iron skillet or Dutch oven will handle almost anything you want to cook. Heavy-duty foil rounds out the kit. Avoid bringing non-stick pans, they don't tolerate campfire heat well.
Is campfire cooking safe for food safety purposes?
Yes, as long as you cook food to the right internal temperatures. Chicken needs to reach 165°F, ground beef 160°F, and fish 145°F. An instant-read thermometer is a small, lightweight tool that removes all the guesswork. Visual cues like "juices running clear" are unreliable.