Safety & Navigation
How to Treat Blisters and Pack a Hiking First-Aid Kit
Learn what goes in a hiking first aid kit, how to prevent blisters on the trail, and when a small problem means it's time to turn back.
A small first-aid kit and a few blister-prevention habits will handle the majority of trail mishaps you'll actually encounter as a beginner. Most hiking injuries are minor: rubbed heels, twisted ankles, small cuts. The right supplies and a bit of know-how mean you deal with them on the trail and keep going, rather than limping back to the car.
This is general guidance, not medical advice. Serious injuries, deep wounds, signs of infection, or anything that worries you should be evaluated by a medical professional.
What to Pack in a Hiking First-Aid Kit
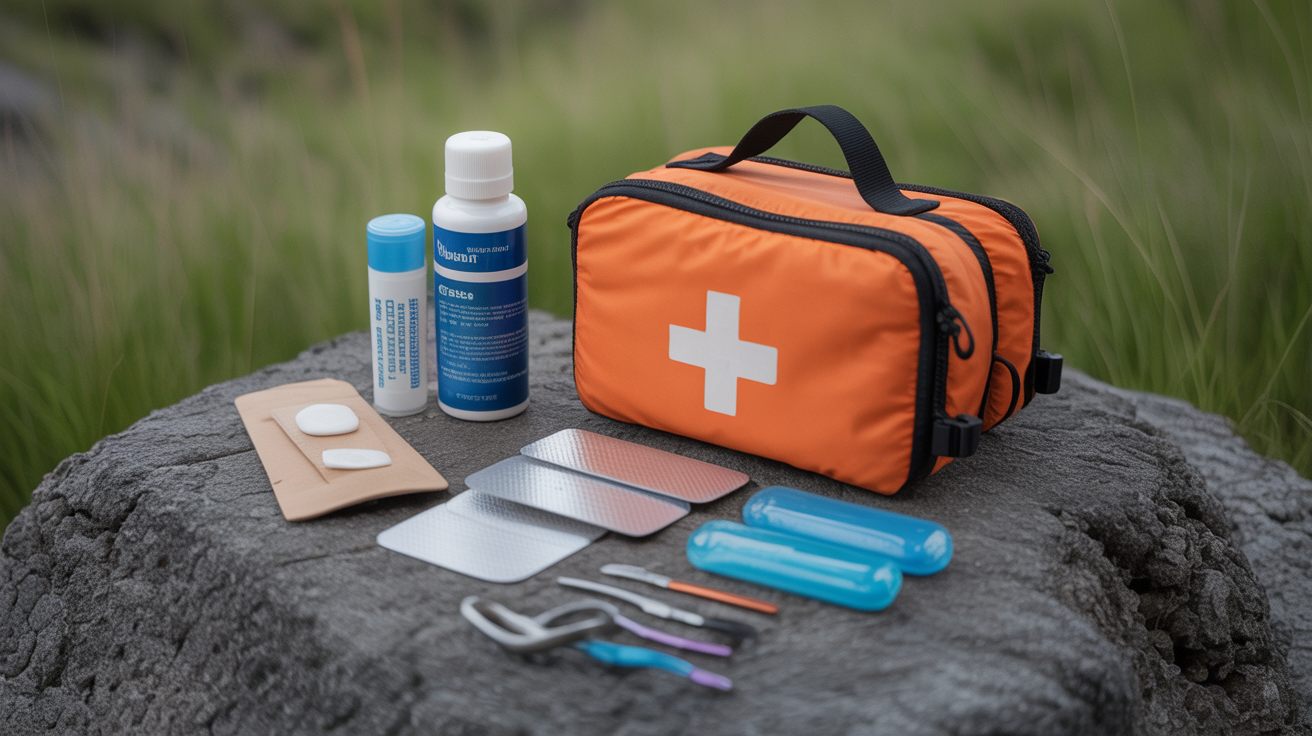
You don't need a giant kit. A compact pouch that fits in your pack's top pocket is enough for day hikes and most overnights. Here's what earns its weight:
| Item | What It's For |
|---|---|
| Adhesive bandages (assorted sizes) | Cuts, scrapes, small hotspots |
| Moleskin or blister pads | Blister prevention and cushioning |
| Medical tape (1-inch roll) | Securing dressings, taping ankles |
| Gauze pads (2x2 and 4x4) | Larger cuts or abrasions |
| Antiseptic wipes or small bottle of wound wash | Cleaning cuts before bandaging |
| Antibiotic ointment packets | Reducing infection risk on open skin |
| Safety pins | Field repairs, drainage (see blister section) |
| Needle | Same; sterilize with antiseptic first |
| Tweezers | Splinters, ticks |
| Nitrile gloves (2 pairs) | Protecting yourself when treating others |
| Pain reliever (ibuprofen or acetaminophen) | Soreness, headache, inflammation |
| Antihistamine tablets | Mild allergic reactions, insect stings |
| Elastic bandage wrap | Ankle or knee support |
| Emergency space blanket | Heat retention if someone gets cold or goes into shock |
| Small scissors or trauma shears | Cutting tape, clothing, or gauze |
| Personal medications | Prescriptions, EpiPen if needed |
For multi-day trips, add a SAM splint, a few more gauze rolls, and a small packet of electrolyte mix. Keep a waterproof bag or dry case around the whole kit.
Pre-assembled kits exist and are a fine starting point. Check the contents before you hike and swap out anything that's low quality or missing from the list above.
How to Prevent Blisters on the Trail
Blisters are the most common hiking complaint, and most of them are preventable. They form when repeated friction causes layers of skin to separate and fill with fluid.
Socks matter more than most people think. Wear moisture-wicking synthetic or merino wool socks. Cotton holds sweat against your skin, which softens it and makes friction damage easier. Avoid thin dress socks or socks with prominent seams.
Break in your boots before a long hike. New boots are stiff. Wear them on short walks around town, then day hikes of increasing length before committing to a full day on rough terrain. If you're renting boots, try them on with your hiking socks and walk around the store or parking lot first.
Fit your boots correctly. Your heel should stay locked in place when you walk. Your toes should have enough room to wiggle but not slide forward when descending. If your foot slides inside the boot, the friction risk goes up.
Tape problem spots before you start. If you know from past experience that your heel, little toe, or ball of your foot tends to rub, apply moleskin or a blister pad there at the trailhead, before any rubbing starts. Moleskin sticks better to dry, cool skin.
Address hotspots immediately. The moment you feel a spot starting to rub, stop and deal with it. A hotspot is a precursor to a blister. Take off the boot and sock, dry the skin, and apply a blister pad or moleskin. Re-lace if the fit feels off. Waiting until the next rest stop often means the blister has already formed.
Treating Blisters on a Hike
If a blister forms, you have two options: leave it intact or drain it.
Leave it intact if possible. An unbroken blister is the skin's own sterile bandage. Cover it with a blister pad or donut-shaped moleskin (cut a hole the size of the blister so the pad surrounds it without pressing directly on it). This protects it from further friction and lets it reabsorb on its own over a few days.
Drain it if it's large, painful, or in a spot that makes walking impossible. Clean the area with an antiseptic wipe. Sterilize a needle or safety pin with an antiseptic wipe. Pierce the blister at its edge (not the top) with a small hole. Press gently to let the fluid out. Do not remove the roof of the blister; it protects the raw skin underneath. Apply antibiotic ointment and cover with a bandage and moleskin.
After draining, watch for signs of infection over the next 24 to 48 hours: increasing redness spreading beyond the blister edge, warmth, pus, or fever. An infected blister needs medical attention.
Handling Other Common Trail Injuries
Cuts and scrapes. Rinse with water or wound wash, pat dry, apply antibiotic ointment, and cover with a bandage. Deep cuts with ragged edges, cuts that won't stop bleeding after 10 to 15 minutes of direct pressure, or puncture wounds need medical care.
Twisted ankle. Stop hiking and assess. Can you put weight on it? If the pain is mild and you can walk, wrap it with an elastic bandage for support and take it easy on the descent. If you heard a pop, can't bear weight, or the ankle is visibly deformed, stay put and get help. See the guide on what to do if you get lost while hiking for how to signal for assistance if you're stuck.
Insect stings. Remove a bee stinger by scraping sideways with a fingernail or card, not squeezing. Take an antihistamine for mild reactions. For any signs of a severe allergic reaction (throat tightening, difficulty breathing, widespread hives, dizziness), use an EpiPen if available and treat this as an emergency.
Ticks. Use tweezers to grasp the tick as close to the skin as possible and pull straight out with steady pressure. Clean the bite with antiseptic. Save the tick in a small container or bag if you want it identified later.
When to Turn Back
Knowing when to head out is part of trail safety. Here's when a minor problem becomes a reason to end the hike:
- Pain that keeps you from walking normally, especially after a fall
- A blister, cut, or wound that looks infected (spreading redness, pus, fever)
- Symptoms of heat exhaustion: heavy sweating, pale skin, weakness, nausea
- Symptoms of hypothermia: uncontrollable shivering, confusion, slurred speech
- Any injury that might be a fracture (severe pain, swelling, an inability to use the limb)
- Someone in your group is disoriented, non-responsive, or losing consciousness
If you have to turn back, navigating back to the trailhead safely matters as much as the treatment itself. Keep your phone charged and know your route; a backup skill like using your phone for hiking navigation can help if you need to confirm your position or call for help.
Frequently Asked Questions
How big should my hiking first-aid kit be? For a day hike, a kit that fits in a small zip pouch (roughly the size of a paperback book) is enough. For overnights or remote terrain, slightly larger with more gauze and a SAM splint makes sense. Weight and volume add up, so stick to items you'll actually use.
Can I use a pre-made first-aid kit? Yes. Most pre-made kits marketed for hiking cover the basics. Read through the contents before you go, add moleskin and a needle if they're missing, and replace any very cheap bandages with better ones. The kit itself is less important than knowing how to use what's inside.
Should I pop a hiking blister? In general, leave it intact. A blister that is intact is sealed and protected from bacteria. Drain it only if the pain is severe enough that you can't walk, or if it's in a spot that will definitely rupture on its own from boot friction. If you do drain it, keep the skin roof on and keep it covered.
What's the difference between moleskin and a blister bandage? Moleskin is a thick, felt-like adhesive fabric you cut yourself. It's good for building up padding around a blister (the donut technique) and covering large or irregular areas. Blister bandages (like hydrocolloid gel pads) are pre-cut and form a cushioned seal over the blister. Both work. Moleskin is more versatile; blister bandages tend to stick better and last longer on wet skin.
Do I need a wilderness first-aid course? You don't need one for casual day hikes at popular trailheads. But if you plan to hike remote terrain, multi-day backcountry routes, or lead trips with others, a Wilderness First Aid (WFA) weekend course is genuinely useful. It covers scenarios a basic first-aid certification doesn't, including improvised splints, patient assessment, and evacuation decisions. Many outdoor organizations offer them.