Hiking & Trails
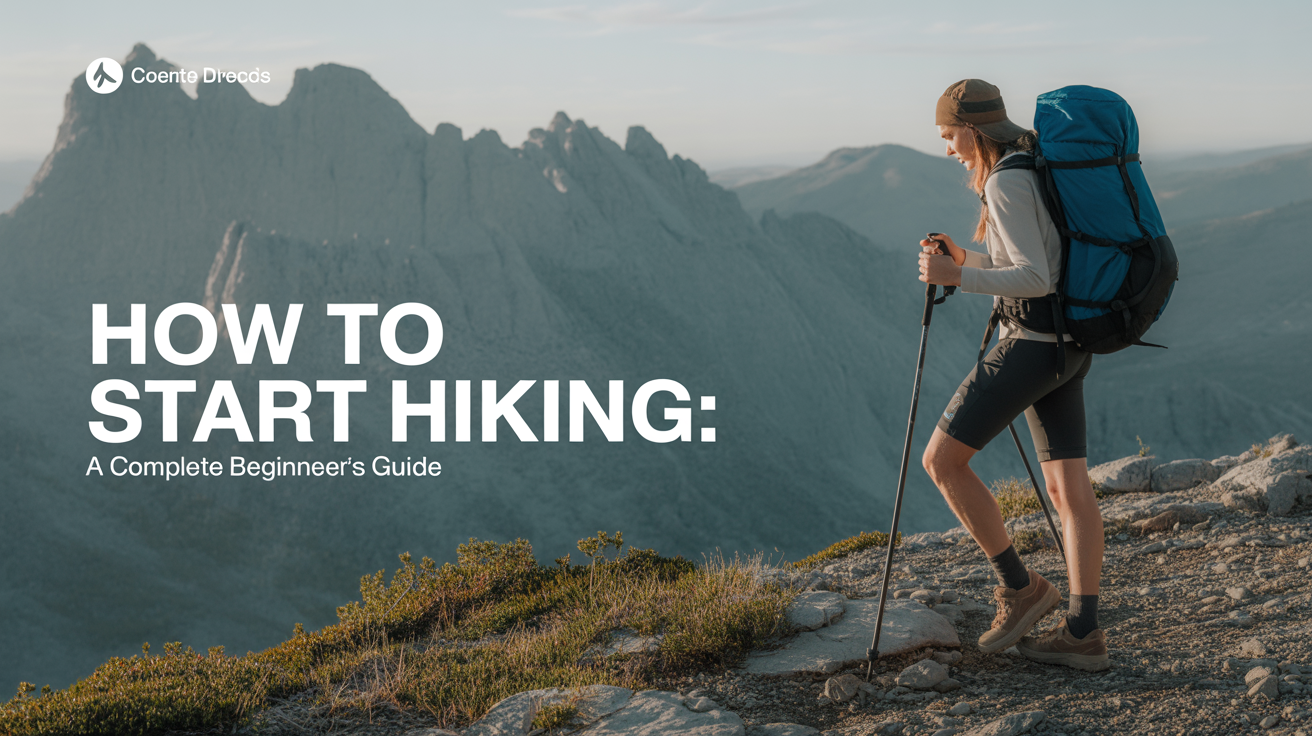
How to Start Hiking: A Complete Beginner's Guide
Ready to hit the trail? This beginner hiking guide covers footwear, gear, pacing, trail etiquette, and how to build distance safely from your very first hike.
Hiking doesn't require special fitness or expensive gear to get started. Pick a short trail, wear shoes with ankle support, bring water, and go. That's the core of it. This guide fills in everything around that core so your first few hikes feel good rather than miserable.
Choosing Your First Trail
The single most common beginner mistake is picking a trail that's too ambitious. A 10-mile mountain loop sounds exciting until mile four when your knees hurt and you still have six miles back to the car.
For your first outing, aim for:
- Distance: 3 to 5 miles round-trip
- Elevation gain: Under 500 feet
- Trail type: Out-and-back (you walk to a point and retrace your steps) rather than a loop
Out-and-back trails are forgiving. You turn around when you've done half the distance, which means you always know exactly how far you are from the car. Loops look shorter on a map but commit you to the full route once you're partway around.
How to Read Trail Difficulty Ratings
Most parks and apps (AllTrails, Gaia GPS, Recreation.gov) rate trails as Easy, Moderate, or Hard/Strenuous. Those labels mean different things on different systems, so don't rely on them alone. Look at the actual numbers instead:
| Label | Typical distance | Typical elevation gain | What to expect |
|---|---|---|---|
| Easy | 1–4 miles | Under 300 ft | Flat or gently rolling; good for all fitness levels |
| Moderate | 4–8 miles | 300–1,500 ft | Some sustained climbs; some rocky or rooted sections |
| Hard/Strenuous | 8+ miles | 1,500+ ft | Long climbs, technical terrain, significant time commitment |
Elevation gain matters more than distance. A 4-mile trail that climbs 1,200 feet will feel far harder than a 6-mile flat walk. For a deeper look at how to interpret those numbers, see how to read a trail: difficulty, distance and elevation.
Where to Find Good Beginner Trails
- AllTrails filters by difficulty and shows recent condition reports from other hikers
- State and county park websites usually list trail distances and surface types
- Recreation.gov covers federal lands (national parks, national forests)
Read recent reviews before you go. A trail rated Easy in dry summer conditions might be muddy and slippery in spring.
Footwear and Clothing
You don't need to buy hiking boots for your first trail. But your footwear choice affects how your feet and knees feel, especially on uneven ground.
Footwear Options
Trail runners are lightweight, breathable, and dry quickly. They work well for well-maintained, lower-mileage trails. Most experienced hikers have switched to them for everything under 10 miles.
Low-cut hiking shoes sit between trail runners and boots. They offer a stiffer sole (better on rocky ground) without the weight of a full boot.
Mid or high-cut hiking boots give ankle support, which matters on loose rock and off-trail terrain. They take longer to break in, so don't wear brand-new stiff boots on a long hike. Break them in on short neighborhood walks first.
Avoid: casual sneakers, sandals, flip-flops, or fashion-brand athletic shoes with thin, smooth soles. They slip on wet rock and offer no foot protection on rooted terrain.
For a full comparison with specific recommendations, check out how to choose hiking boots and shoes.
Layering for the Trail
Weather changes fast in the mountains and forests. The standard system uses three layers:
- Base layer (next to skin): moisture-wicking fabric (merino wool or synthetic). Avoid cotton, which stays wet and gets cold.
- Mid layer (insulation): fleece or a light down jacket for warmth when you stop.
- Outer layer (shell): wind- and rain-resistant jacket. A packable rain shell weighs almost nothing.
On a warm summer day you'll start in your base layer and stuff the others in your pack. On a cold or uncertain-weather day, all three matter. Check the forecast and bring the mid and outer even if you don't think you'll need them.
What to Bring: The Day Hike Packing List
The outdoor community has a standard called the Ten Essentials, a framework developed to keep day hikers and backpackers safe. Here's a practical beginner version:
| Item | Notes |
|---|---|
| Water | At least 0.5 liters per hour of hiking; more in heat |
| Food/snacks | High-calorie, easy to eat: nuts, bars, fruit |
| Navigation | Downloaded offline map (AllTrails or Gaia) + phone power bank |
| Sun protection | Sunscreen, sunglasses, hat |
| Insulation | Extra layer and rain shell |
| Headlamp | Even on a day hike (trails take longer than expected) |
| First-aid kit | Adhesive bandages, blister care, pain reliever |
| Fire starter | Lighter or matches in a waterproof bag |
| Repair tools | Multi-tool or knife, duct tape, trekking pole tip |
| Emergency shelter | Lightweight emergency bivy or space blanket |
The Ten Essentials aren't about carrying a lot of weight; most of this fits in a 20-liter daypack and weighs under 10 pounds. For a detailed walkthrough of each item, see what to bring on a day hike: the ten essentials.
A few things to add for beginners specifically:
- Trekking poles: Optional, but they reduce knee strain on descents significantly. Worth borrowing or renting for your first hike if you have any knee issues.
- Blister prevention: Moleskin or blister bandages. New footwear means potential hot spots. Treat them the moment you feel friction, not after a blister forms.
- Extra socks: One spare pair takes almost no space and makes a big difference if you get your feet wet.
Pacing Yourself on the Trail
Most beginners go out too fast. You feel good at the trailhead, the terrain is flat, and you're excited. Two miles in, you're exhausted and you've still got the hard climbing ahead.
How to Find a Sustainable Pace
A simple test: you should be able to hold a conversation without gasping. If you can't speak a full sentence, slow down. If you feel like you could sprint, speed up slightly. This is the conversational pace, and it's the right intensity for all-day hiking.
The 30-minute rest rule works well for beginners: hike for 30 minutes, rest for 5 to 10 minutes, repeat. During rest stops, sit down, eat something small, and drink water. Don't wait until you're thirsty; by then you're already starting to dehydrate.
Planning Your Turnaround Time
Tell someone where you're going and when you expect to be back before you leave. This is a simple safety step that costs nothing. If something goes wrong on the trail and you don't return, someone knows to send help.
Set a firm turnaround time before you start. A good rule for beginners: if you've been hiking for more than half your planned total time and haven't reached the halfway point, turn back. Trails take longer on the return than you expect, especially after fatigue sets in.
If conditions change (weather rolls in, a member of your group is struggling, it's getting later than expected), turn back. The trail will be there next time.
Trail Etiquette
Trails work because hikers share them. A few conventions make that easier.
Uphill hikers have the right of way. Someone climbing a steep section has momentum and rhythm that's hard to restart. Step aside and let them pass.
Yield to horses. If you encounter equestrians, step off the trail on the downhill side, stand still, and speak calmly so the horse knows you're human. Horses spook easily.
Pack out what you pack in. This includes orange peels, apple cores, and other "natural" trash. Wildlife adapts to finding human food scraps, which causes problems for animals and for future hikers.
Stay on the trail. Cutting switchbacks erodes the slope and widens the trail scar. On rocky alpine terrain, stepping off-trail can crush fragile plants that take decades to grow.
Keep noise reasonable. Other hikers and wildlife are both affected by noise. Headphones are fine; a speaker playing music at volume is not.
Camping regulations: If your hike leads to a campsite, check whether fires are allowed. Many areas have fire restrictions during dry season, and fire rings aren't an invitation to build a fire when a ban is in effect.
Building Up Distance Over Time
The goal of your first few hikes isn't to cover ground. It's to learn how your body responds to trail conditions, to figure out your gear preferences, and to build the specific muscles hiking uses.
A Simple Progression for New Hikers
| Week | Distance | Elevation gain |
|---|---|---|
| 1–2 | 3–4 miles | Under 300 ft |
| 3–4 | 4–6 miles | 300–500 ft |
| 5–6 | 6–8 miles | 500–800 ft |
| 2+ months | 8–10 miles | 800–1,500 ft |
Increase one variable at a time. Add distance or elevation, not both in the same week. If your knees or feet hurt after a hike, take an extra rest day before going again.
What Hiking Fitness Actually Builds
Hiking primarily uses the glutes, quads, and calves on climbs, and puts load on the knees on descents. If you want to support your hike with other exercise, step-ups, lunges, and single-leg exercises help. But the most effective training for hiking is simply hiking more.
Keeping a Simple Trail Log
After each hike, note the trail name, distance, elevation gain, how you felt, and one thing you'd do differently. Over a few months this becomes a useful reference for choosing what to tackle next and for seeing genuine progress.
Frequently Asked Questions
How fit do I need to be to start hiking?
You don't need any baseline fitness level to start. An Easy-rated 3-mile trail is accessible to most adults, including people who don't currently exercise regularly. Start there, go at your own pace, and fitness builds naturally over time.
What's the best time of day to hike?
Starting early has practical advantages: cooler temperatures, less crowded trailheads, and a buffer of daylight if you take longer than expected. In areas with afternoon thunderstorms (common in mountain regions in summer), starting early and getting off exposed ridges before noon is a genuine safety consideration.
Do I need trekking poles?
No, but they help. Poles reduce the load on your knees on descents by roughly 25%, which matters on longer or steeper hikes. If you have existing knee problems, they're worth trying from the start.
How do I know if a trail is safe for beginners?
Check recent reviews on AllTrails for current conditions. Look at the trail's distance and elevation gain rather than the subjective difficulty label. Avoid trails with technical scrambling, route-finding challenges, or permit requirements that imply difficult terrain until you've built confidence on simpler routes.
What if I get lost?
Stop moving. Staying put makes you easier to find. Check your downloaded offline map. If you have signal, call for help; in the US, 911 works even without cell service on many networks. This is why telling someone your plan before you go matters: if you're overdue, someone will look for you in the right place.